Whether you’re a seasoned marketer or a beginner, understanding the fundamentals of setting up an ad campaign is essential for achieving your advertising goals. Here’s how we do it:
Table of Contents
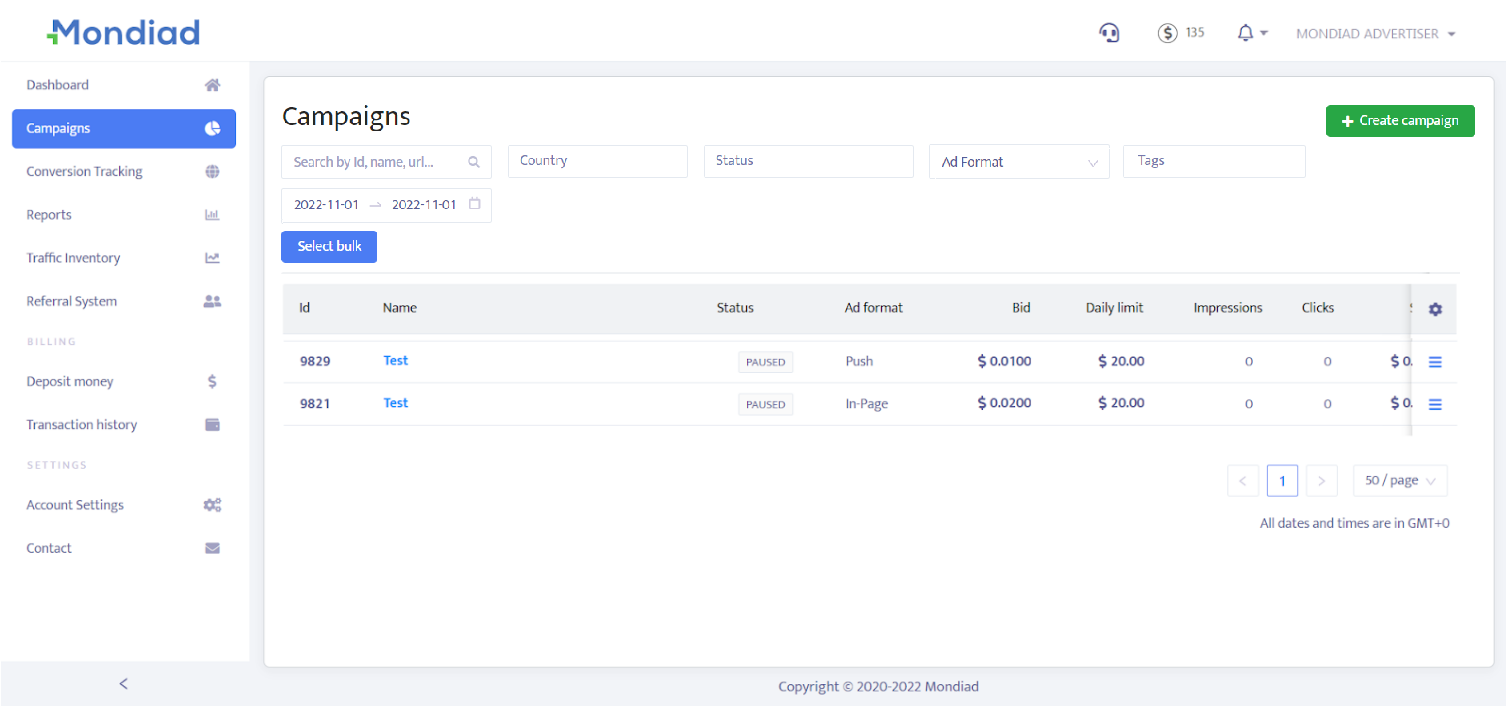
Easily navigate through your ad campaigns using the search field and filters like Id, Name, URL, Country, Status, Ad Format, Date Range.
The table containing your ad campaigns lets you visualize your campaign’s Id, Name, Status, Ad Format, Bid, Daily limit, Impressions, Clicks, Spent, Conversions, and Revenue
By clicking on the icon, right at the end of an ad campaign entry is a quick menu to modify your campaign: Resume, View, Edit, Clone, Reports, Archive.
Campaign info
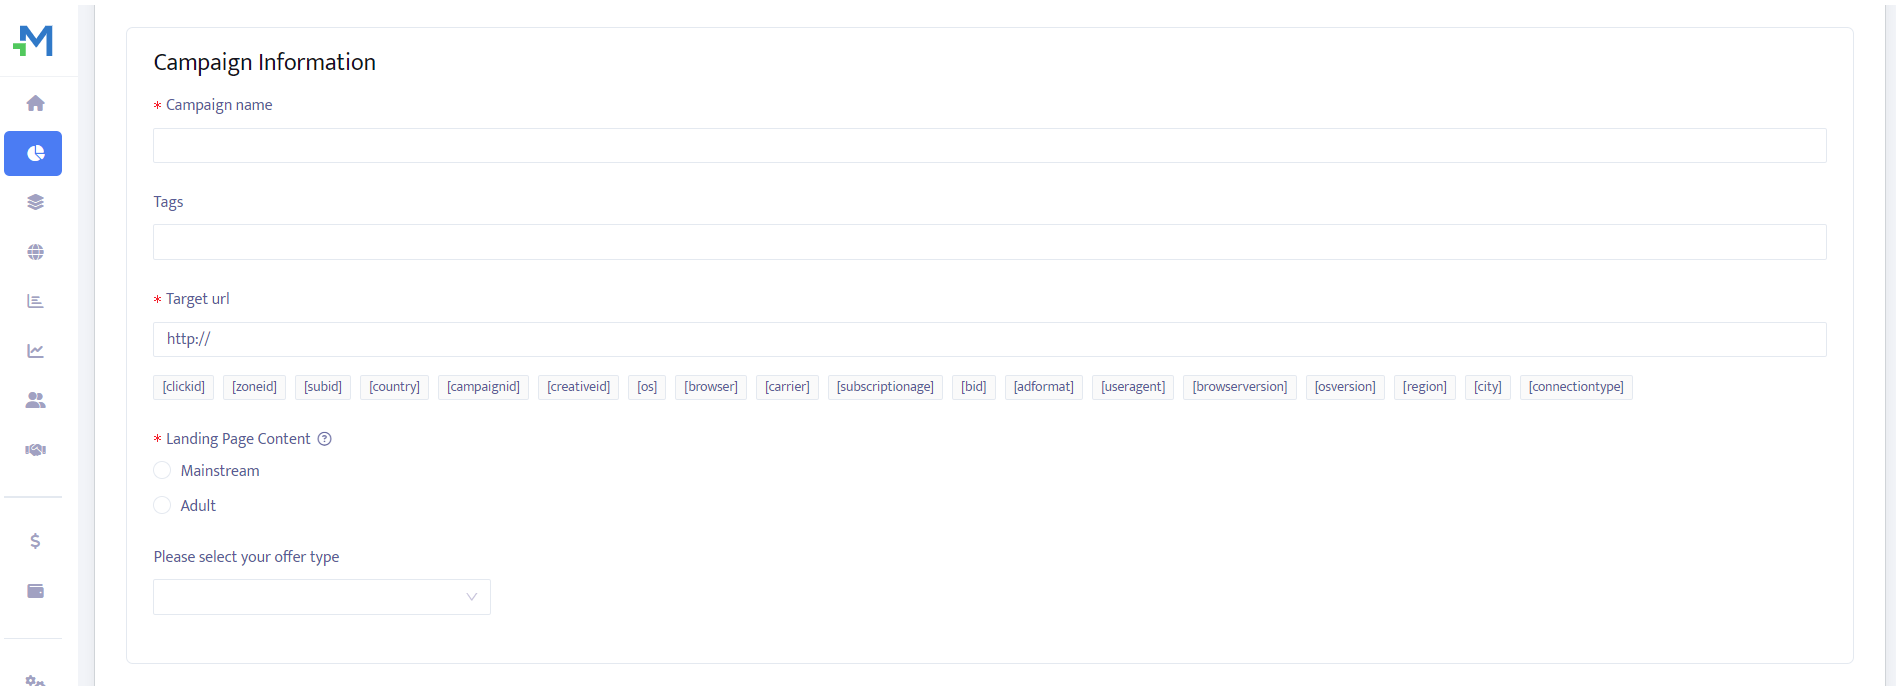
To create an ad campaign, start by adding your campaign information:
1. Give your ad campaign a name;
2. Create tags for better ad campaign management.
3. Create your target URL by adding your tracking tokens.
– [clickid] – Unique ID is used for conversion tracking
– [zoneid] – Zone ID is our token for publisher id and represents a group of subids
– [subid] – Subids belong to Zone ID and are usually used for a granular campaign optimization
– [country] – Country Code (2 letter country code like US, FR, DE, IT)
– [campaignid] – Campaign ID in our system
– [creativeid] – Creative ID in our system
– [os] – Operating system name (Windows, Linux, Android, etc.)
– [browser] – Browser type name
– [carrier] – Mobile carrier
– [subscriptionage] – How many days ago the subscription occurred
– [bid] – Bid value (CPC)
– [adformat] – Represents the Ad format
4. Choose the type of your landing page content: Mainstream/Adult
5. Select your offer type from the dropdown box.

Campaign creatives
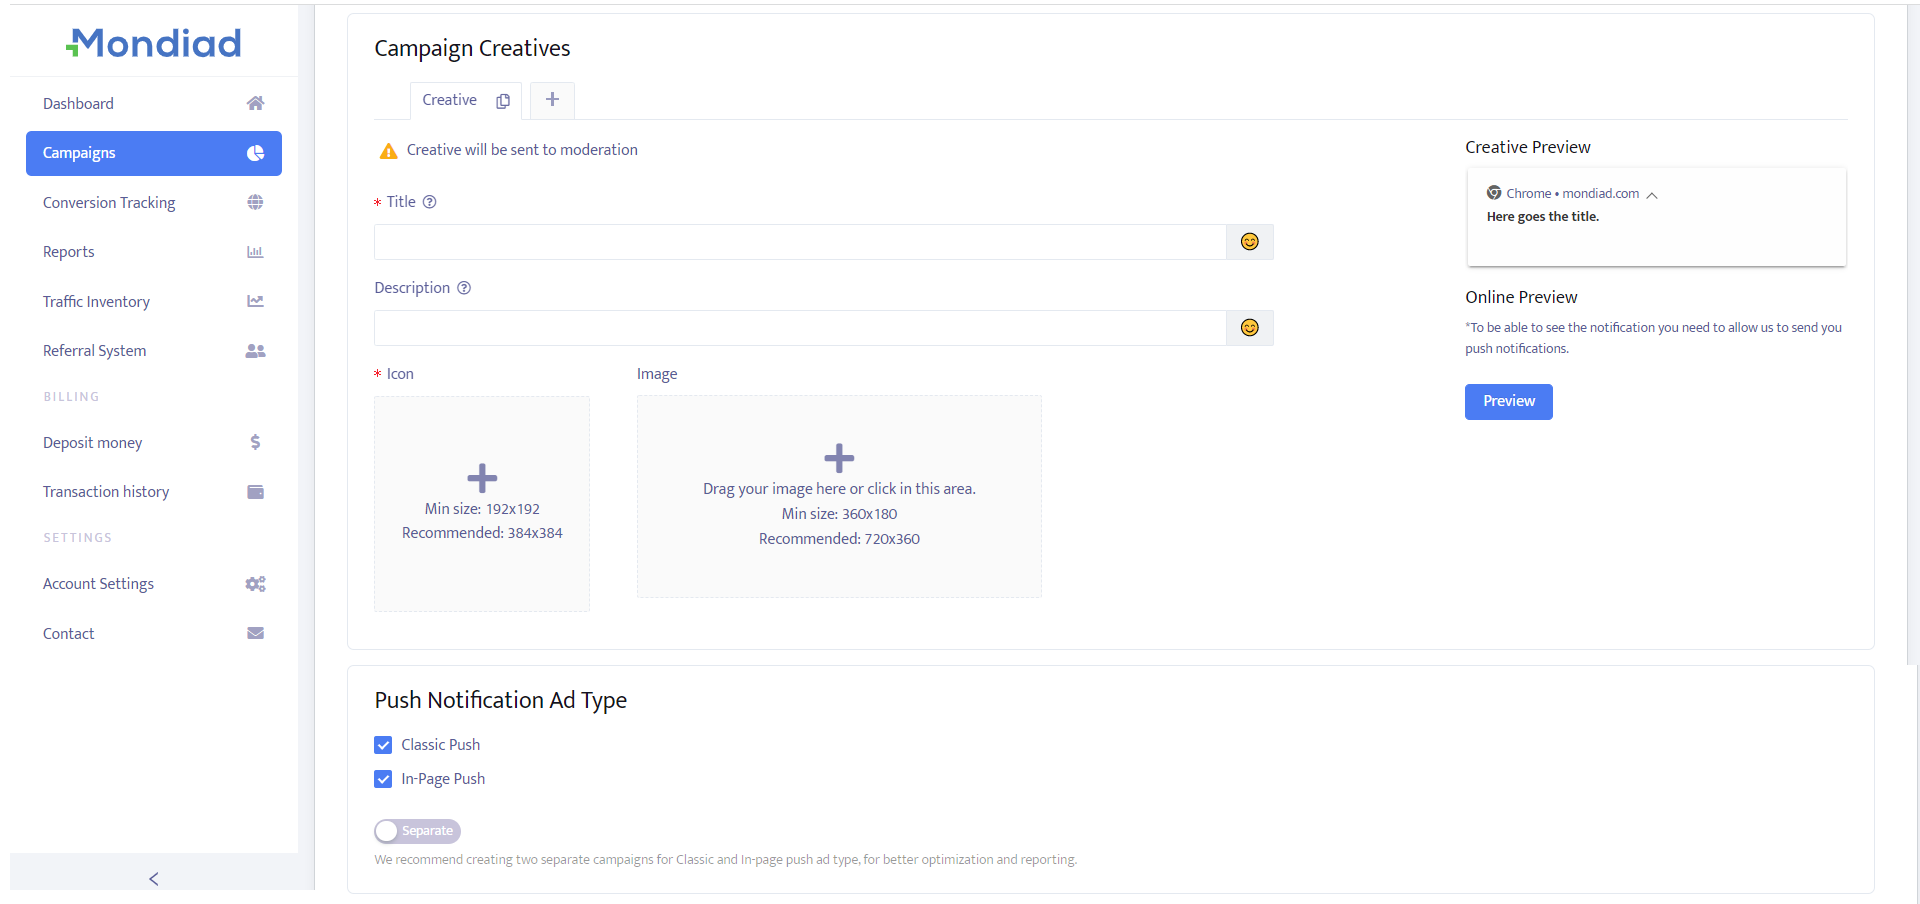
Add your creative Title, Description, Icon and Image. Use [city] and [country] tokens in the creative title and description and each user will see his own country and city in the message. Insert emojis in your Title and Description to make it more visually pleasing.
On the right side, you can click on the preview button to see how users will see your ad.
💡 You can create a number of 10 creatives in a single ad campaign.
💡 We recommend creating two separate campaigns for Classic and In-page push ad types, for better optimization and reporting.
Choose the Push Notification Ad Type you`d like for your ad: Classic Push, In-Page Push, Native, Banner
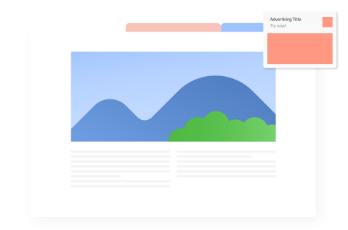
Classic Push |
|
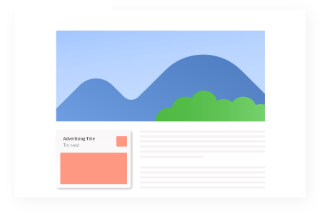
In-Page Push |
|
Native |
|
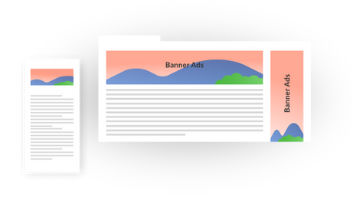
Banners |
|
Campaign targeting
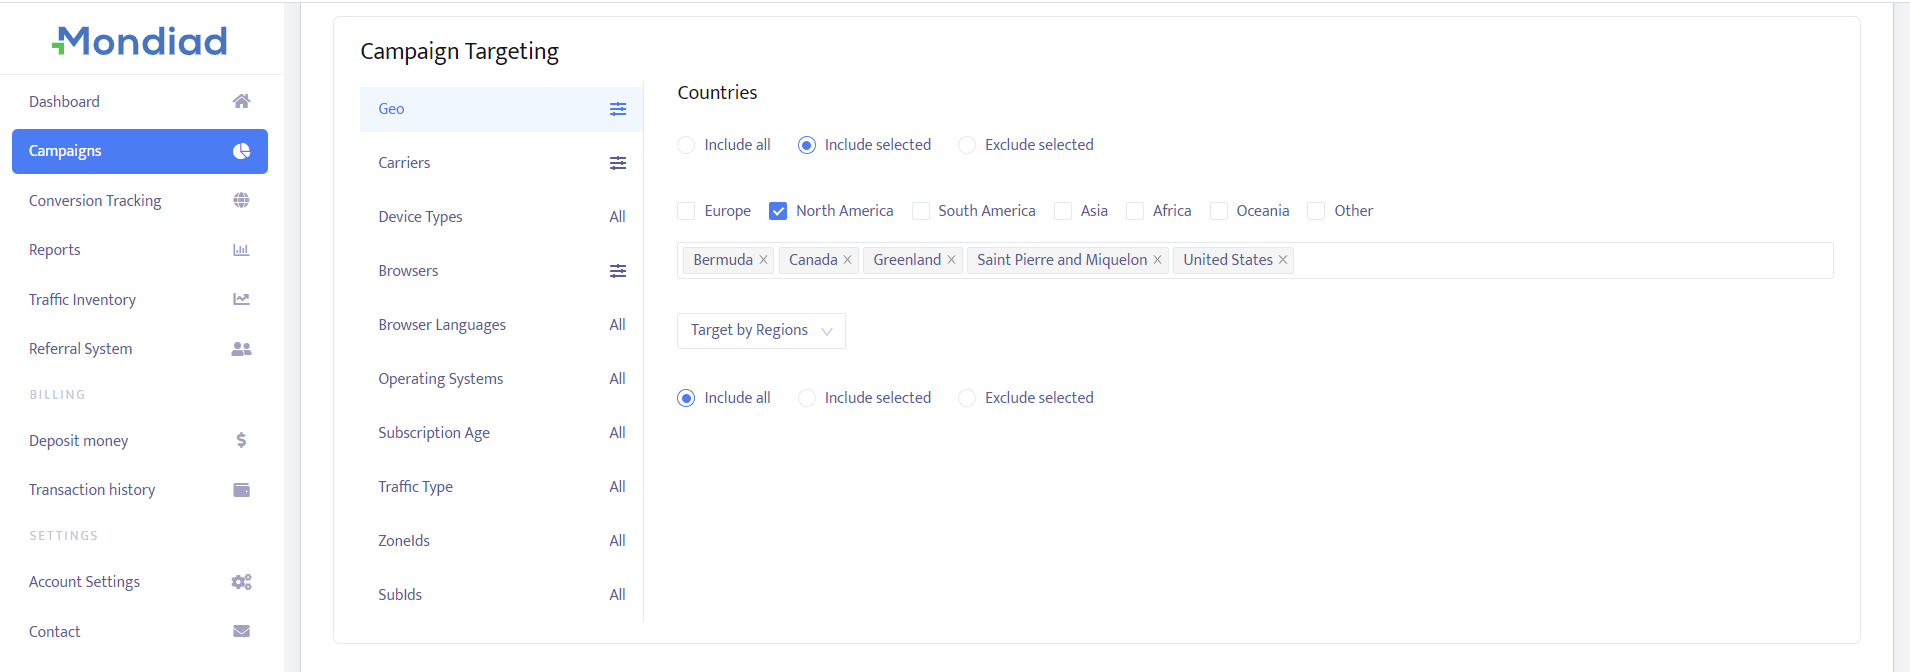
In the Campaign Targeting section, select the parameters you want for your ad campaign. Currently, you can make a broad selection of filters, namely: Country, Region & City, Carrier, Device, Device type, Operating system, Operating system version, Browser, Browser language, Browser version, Subscriptions Age(Push ads), Traffic Type, ZoneId, SubId
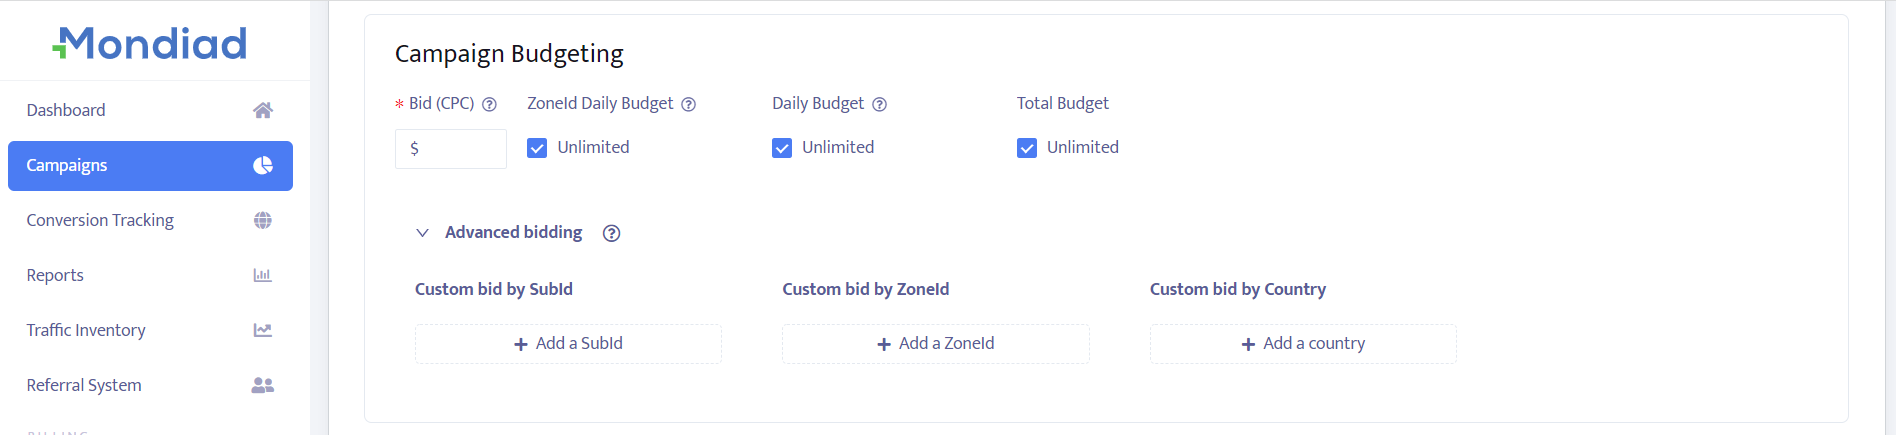
Campaign budgeting
Campaign bidding is involves setting various budget parameters to control how much you’re willing to spend and how your ads are delivered. Understanding the different types of budgets and bidding options will help you optimize your campaigns for better performance and cost efficiency.
Biding is available on a CPC(Cost Per Click) and CPM(Cost Per Mile/1000 Impressions) and TargetCPA model, starting with a minimum of $0.0001.
| CPM | CPC | TargetCPA | |
|
Push |
❌ | ✅ |
✅ |
|
Native |
✅ | ✅ |
✅ |
| Banner |
✅ |
❌ |
✅ |
Total budget:
The total budget is the maximum amount of money you are willing to spend on a campaign over its entire duration. (starting with $10 minimum or set it to unlimited)
Daily budget:
The daily budget is the maximum amount you are willing to spend on a campaign per day. This helps in spreading your total budget evenly over the campaign duration, ensuring that your ads are shown consistently every day. (starting with $10.00 or set it to unlimited)
⚠️ The daily budget may be exceeded due to the nature of push ads.
ZoneID daily budget:
A ZoneID daily budget allows you to allocate a specific daily budget for each ad zone, ensuring you control spending on individual zones based on their performance and importance to your campaign goals.
Custom bidding:
Clicking on “Advanced Biding” will also allow you to set up a custom Bid by ZoneId, SubId and Country.
Custom bidding by allows you to set different bid amounts and fine-tune your costs more granularly. This is useful if some segments perform better than others or have higher traffic and require more aggressive bidding.
Campaign delivery
This is where you configure how and when your ads are shown to your target audience.
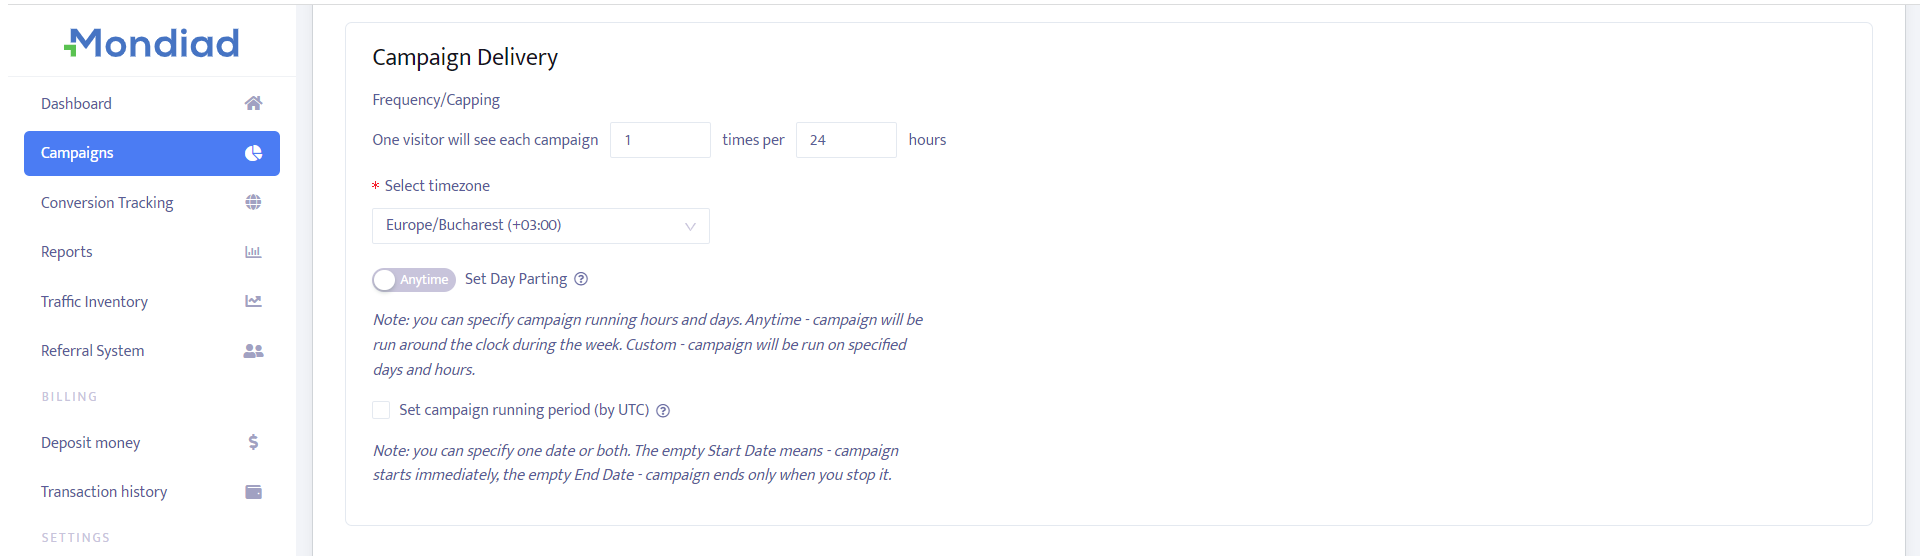
Choose a Frequency Cap which is the number of times and the timeframe (in hours, starting with 1 hour) your ad will be shown to a visitor.
Example: If you set the cap to 5 times in 24 hours, a visitor will see the ad a maximum of 5 times within a 24-hour period.
Next, select your desired timezone from the dropbox below to ensure your campaign runs according to the specific time zone of your target audience or your preferred time zone.
Set the Day Parting to control the days and hours during which your campaign is active.
- Anytime – the campaign will be run around the clock during the week.
- Custom – the campaign will be run on customized days and hours.
Set the campaign running period (by UTC) by choosing the start date and end date of your campaign. You can specify one date or both.
The empty Start Date =campaign starts immediately.
The empty End Date = campaign ends only when you stop it.
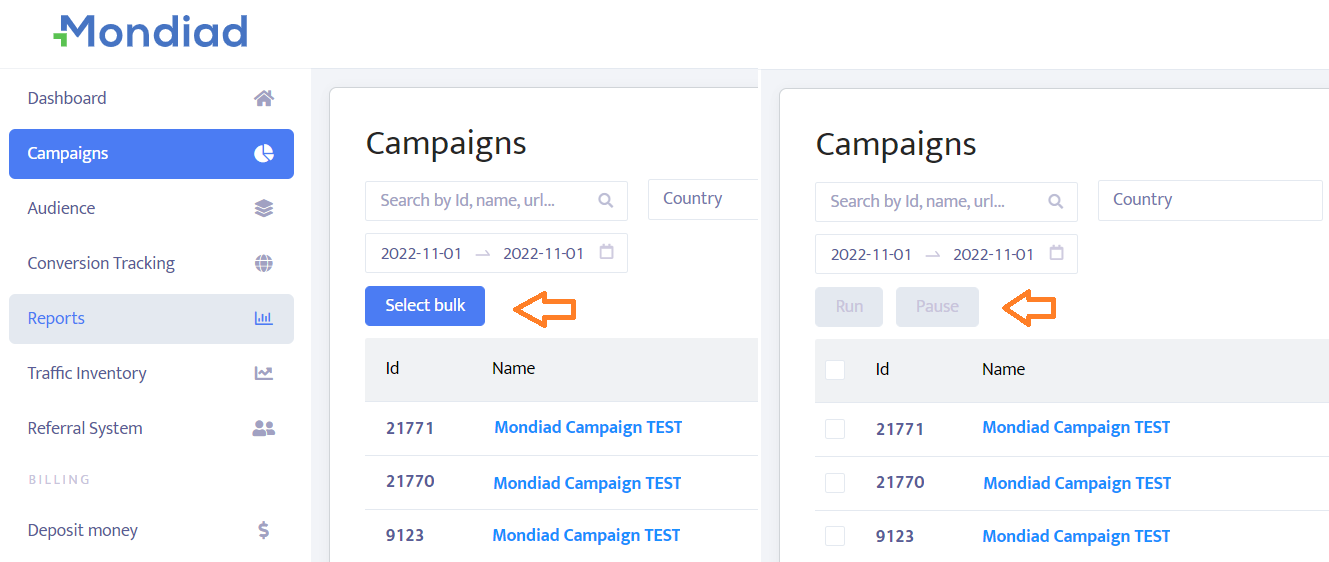
If needed, you can better optimize your campaigns by running or pausing campaigns in bulk, using the “select bulk” button.
Campaign optimization
Optionally and (recommended by us), you can work with a selection of in-house tools to further optimise and improve the results of your ad campaigns.