
Get started with Voluum!
Here at Mondiad, we’re proud to announce our latest, hottest partner to join is Voluum, the industry’s leading tracker! Tracking, optimizing, and automating your advertising campaigns will never be more precise & effective than with them. 🎉

Voluum offers solutions for individual & business customers, tailoring the level of platform advancements and support to your needs! Why is this the right tracker for you?
- Track 30+ data points in real-time to know exactly what works and what doesn’t.
- Easily connect your traffic sources via API to manage all your advertising comfortably from Voluum.
- Detect every suspicious visit and unrealistic conversion to keep your budget protected with the Anti-Fraud Kit.
- Assign users to separate workspaces, customize access, & share reports with external parties with Collaboration Tools.
- Set up custom rules to regulate your campaigns while you’re away
- Use AI-powered tools to automatically redirect your traffic to the best-performing offers and landing pages.
- Receive custom alerts on mobile and desktop when your ad performance changes.
👉Sign up today & you’ll get a major discount – up to 30% off! 🤑🤑
***
Mondiad x Voluum integration guide:
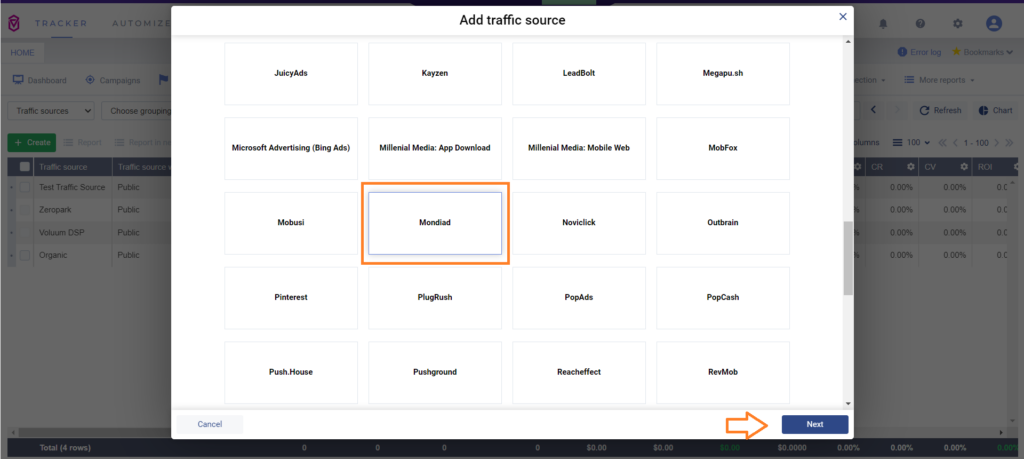
Step 1. Choose Mondiad as your Traffic Source in Voluum
Login into your Voluum account then go to TRACKER -> Traffic Sources -> Create -> Traffic Source. Here, search for “Mondiad” then hit the Next button to reach the next step of the configuration.
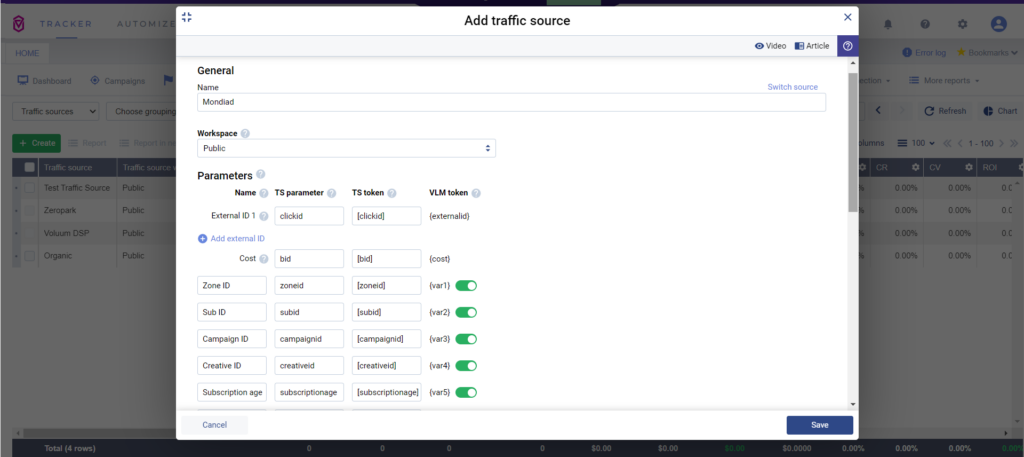
The template automatically loads the parameters Mondiad offers and in this box you`ll be able to finish configuring the tokens, and the tracking options, leave notes and get your Postback URL.
Step 2. Create a Campaign in Voluum
Now that you`ve set up Mondiad as your traffic source, it`s time to start your campaign. Go to Campaigns -> Create, and start the configuration by selecting Mondiad as your traffic source.
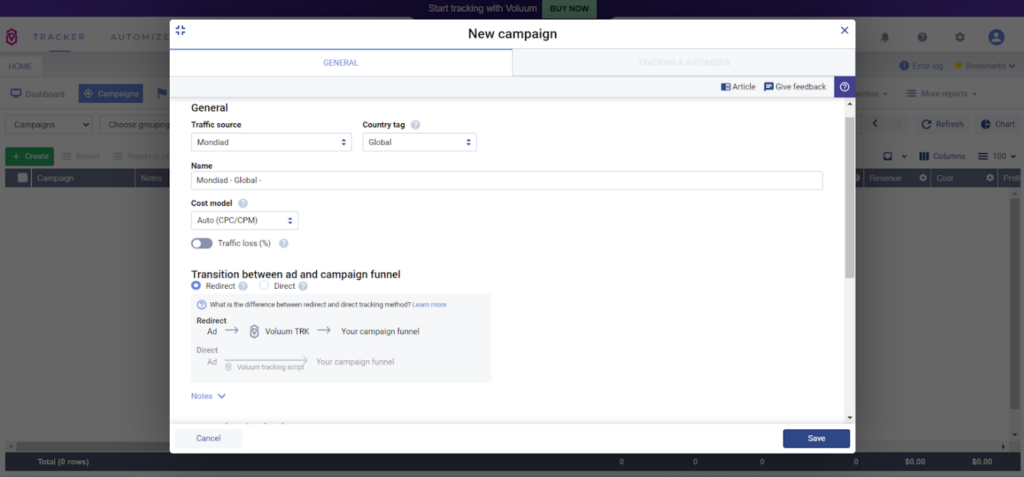
In the next pop-up, fill in your campaign details: name, cost model, path destination, landers, etc. For further help with Voluum configurations, please refer to their official documentation.
Step 3. Starting a Campaign in Mondiad
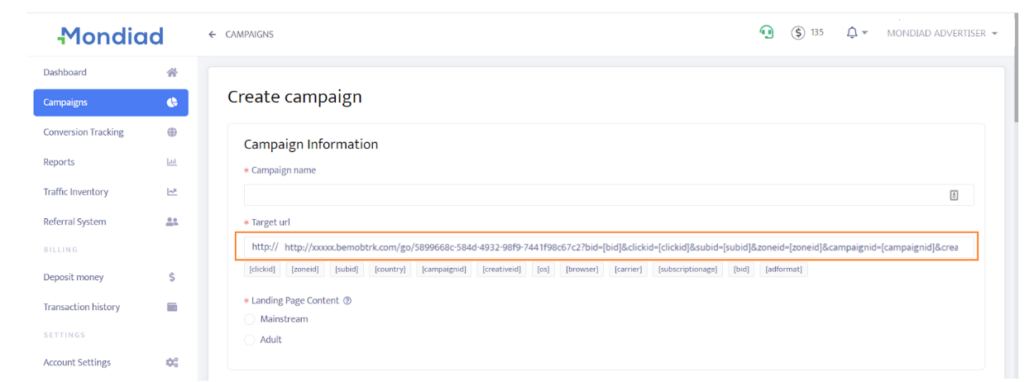
Log in to your Mondiad advertiser account and go to the Campaign Tracking tab.
Next, follow THIS step-by-step guide that will show you how to configure and optimise your Mondiad ad campaign.
Mondiad x Voluum API integration:
1. Generate your Mondiad ClientID & ClientSecret:
To generate a Mondiad API key, log in to your Mondiad advertiser account and head over to the Account settings section in the left menu -> go to API integrations.
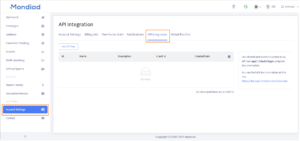
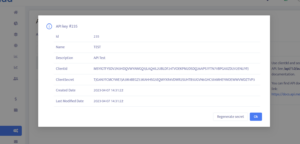
Here, click on Add API key button -> enter a name and a description(optional) for your API key -> when ready, click the Submit button.
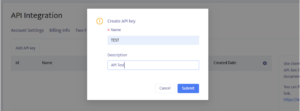
Now, your API key is created and you can get your ClientID and ClientSecret values to use with your integration of choice.
2. Insert the Mondiad ClientID & ClientSecret to your Voluum API token:
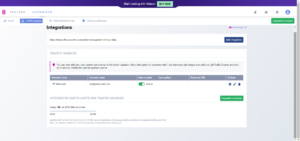
Log in to your Voluum account and head over to the AUTOMIZER section -> Traffic sources -> then click on the Add traffic source button.
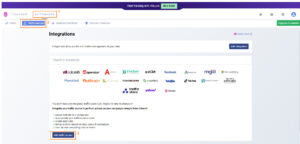
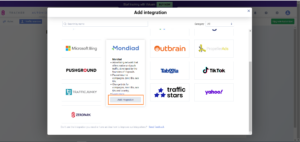
Now look for the Mondiad template and select it by clicking on Add Integration button.
In the pop-up window, you will need to insert an API token. This token is made of your Mondiad API key values you already gendered into the Mondiad platform.
The API token you need to insert here should look like this: ClientID@ClientSecret
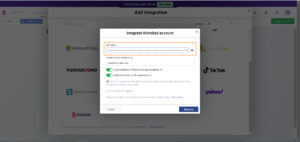
When ready, hit the Submit button and you are all done.
There you go!
Don’t forget to also check out Voluum official documentation regarding Mondiad, if needed.