Take control of your data while tracking your visitors’ actions and interactions at every single step of the funnel and beyond.
With ClickFlare, our new partner! 🚀
Features you’ll love:
✅ Performance Comparing:
Valuate the performance of your key metrics and their evolution from one point in time to the next.
✅ Live Events Log:
View in real-time when visits, clicks and conversions are recorded and always have a detailed record to go back to.
✅ Custom Metrics:
Can’t find the metric you are looking for? You can easily build your own custom metrics by just writing their formula.
✅ Custom Conversions:
Define multiple conversion types, compare and see which part of your traffic converts best.
✅ System Activity:
Keep a track list of all the changes that go on and affect your account, from deletes and updates to executed actions.
👉 Start now! 👈
Mondiad x ClickFlare integration guide:
1. Sign in to your ClickFlare account.
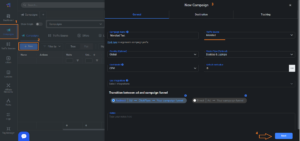
2. Go to Campaigns -> Campaigns -> New button to start a new campaign.
3. In the pop-up window, fill in the required info such as Campaign Name, Cost Model, and Mondiad as your traffic source.
For more details about configuring the S2S Postback URL, check out ClickFlare’s official documentation.
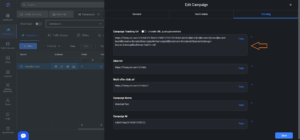
4. After finishing configuring all the campaign details, copy the Campaign Tracking URL and paste it into a new campaign created in your Mondiad advertiser account.
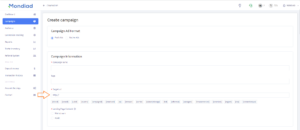
5. Log in to your Mondiad advertiser account and go to the Campaigns tab to create a new campaign. Here, in the target URL field make sure to paste the previously generated URL then continue with your Mondiad campaign configuration using this guide.
The Mondiad x ClickFlare integration should now be all done. 💪
If you need more help with using the Mondiad platform, we suggest you check out our Help Center or contact our support team.
