
Say hi to Skro, our newly integrated conversion tracker!
Skro is designed for affiliate marketers and media buyers to track the progress and profitability of their online campaigns.
Main advantages of the tracker:
- 250 000 Free events with Free subscription plan
- Free onboarding
- Free SSL certs for your custom domains
- Custom conversion events
- Real-time stats
- 3-dimensional reports
- Cookieless tracking (direct tracking with LP Pixel)
- Multi-cost and payout tracking
- 34 data metrics
- Reports in 15 different currencies
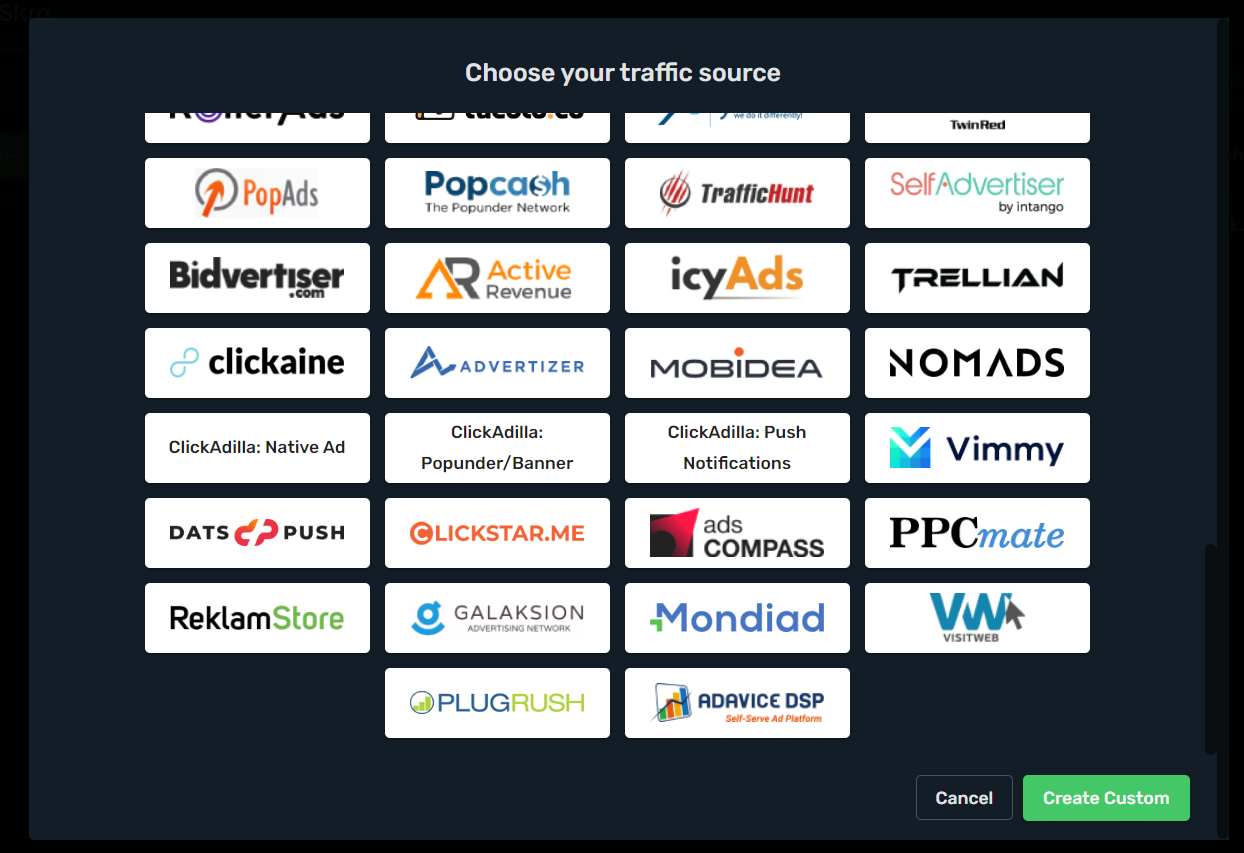
- 85+ pre-filled templates for Traffic sources
- 230+ pre-filled templates for Affiliate networks
- Facebook Conversion API Integration & auto-cost update
- Shopify Integration
- Block or redirect Bot traffic
- Clicks & Conversions report
- Track COD offers and their statuses
- Upsell offers tracking
- Rule-based paths
- API Integration with Pushground & PropellerAds to
manage ads directly from Skro and auto-cost sync
🎁 Thanks to our cooperation with the platform, you can get 20% off on the first 3 months of the Starter or Pro plan by using the code MONDIAD20.
-> START NOW!
Mondiad x Skro integration guide:
How to create a campaign to track Mondiad traffic?
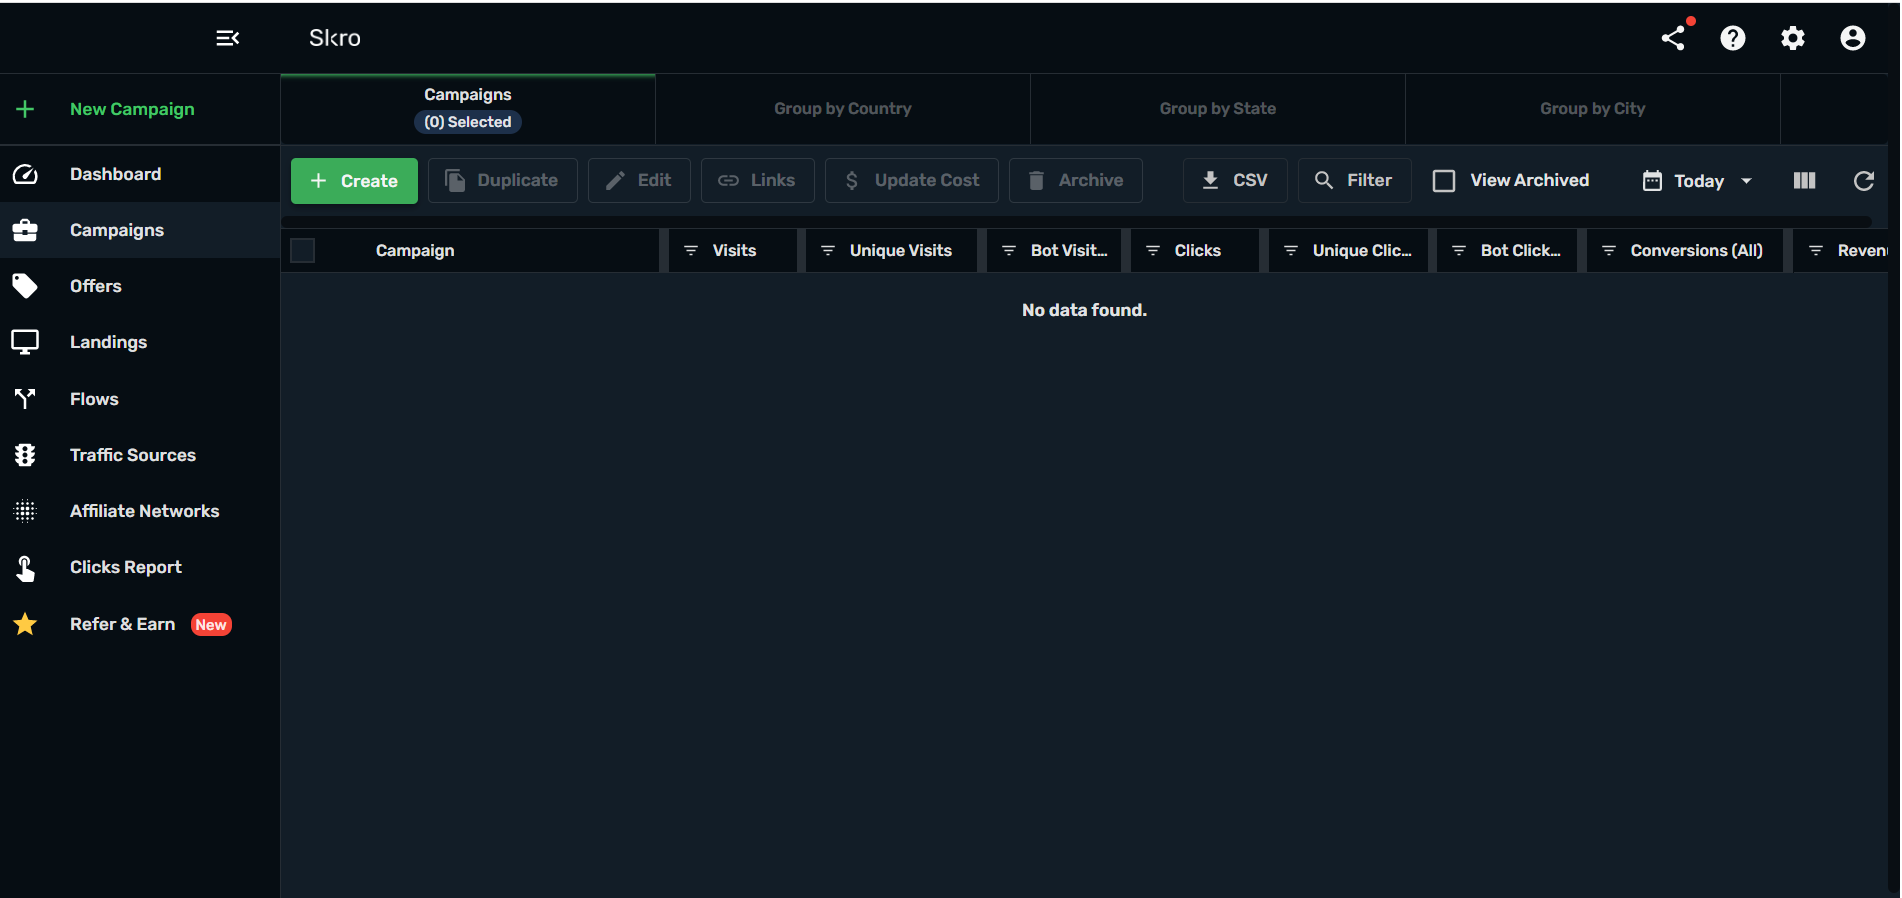
Step 1. Sign in to your Skro account and create a new campaign.
To do so, click on the “Create” green button in the upper right corner.
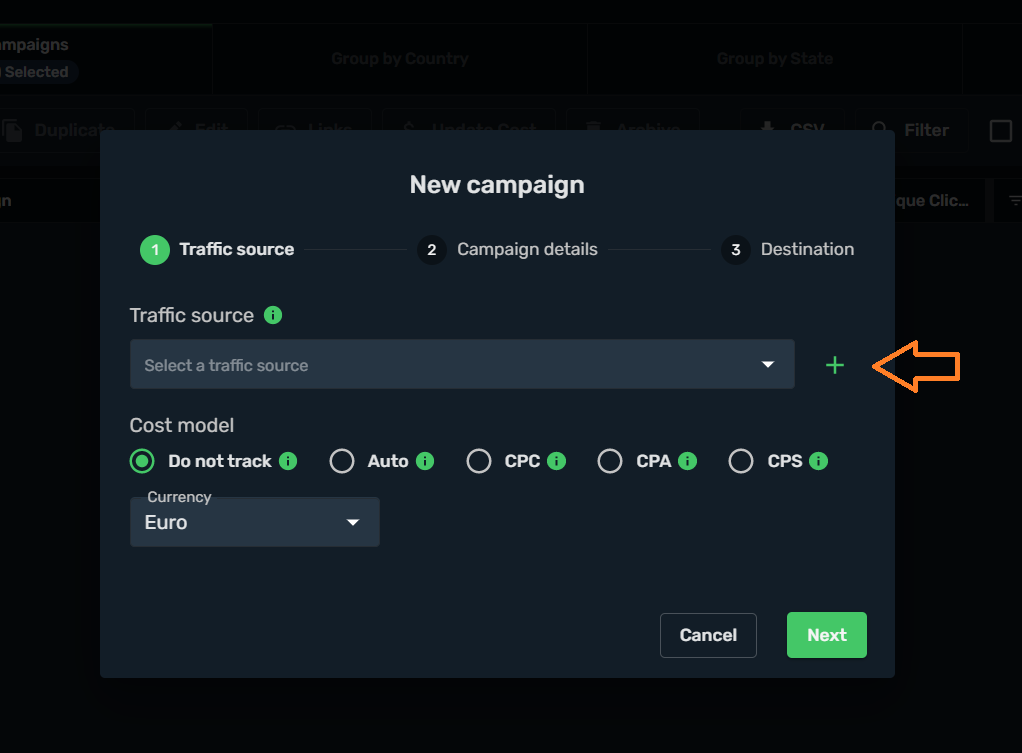
Step 2. Choose Mondiad as your traffic source and set up your parameters.
If your dropdown is empty then click the plus icon and choose Mondiad from the Skro pre-filled templates.
At this step, configure your ad campaign parameters and all the settings available, to your needs. Make sure to adjust parameter values where needed. Macros will be filled automatically.
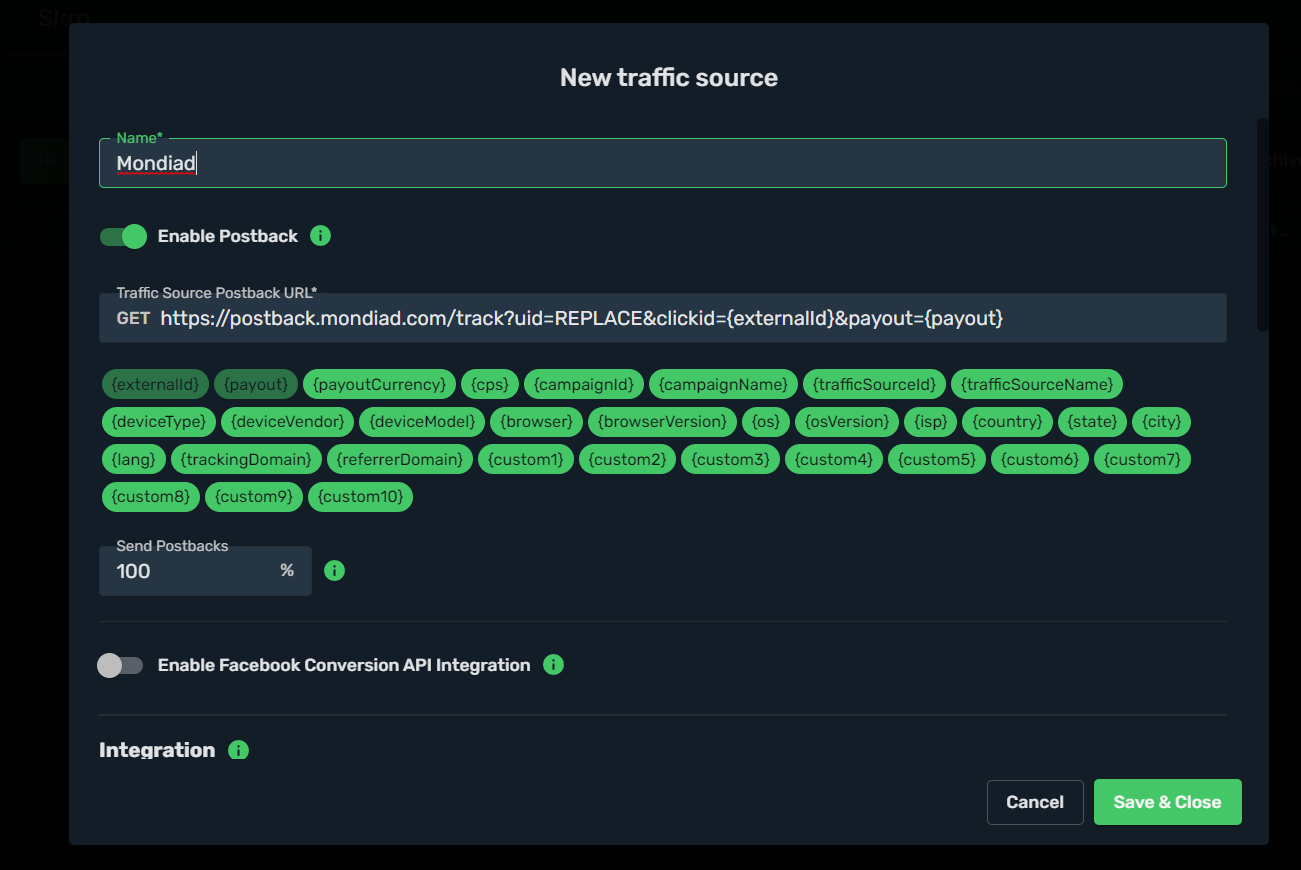

After you’re done with your configuration, click the “Save and Close” green button at the bottom right.
Step 3. Set up your campaign details.
In the next step, you will have to fill in your campaign details and configure elements like cost model, currency, cost value, campaign name, etc.
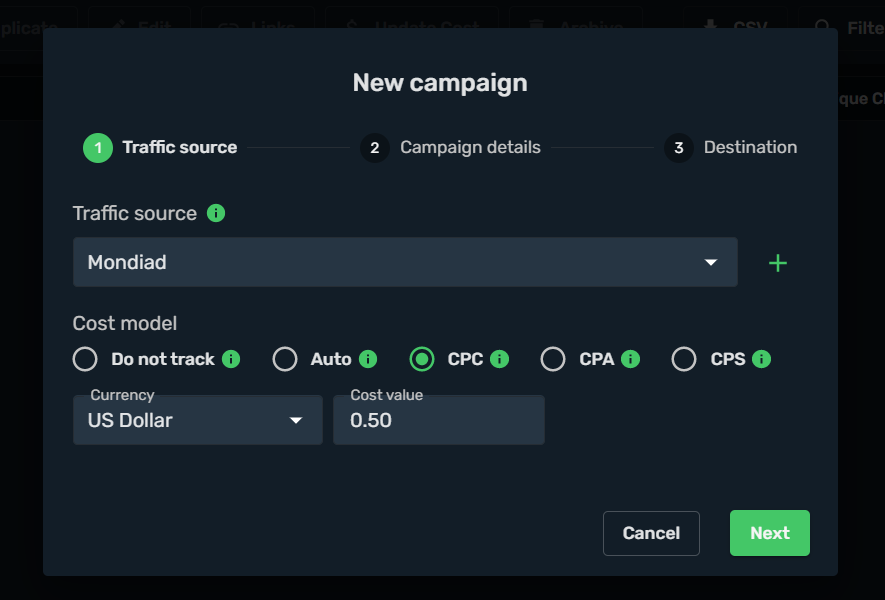
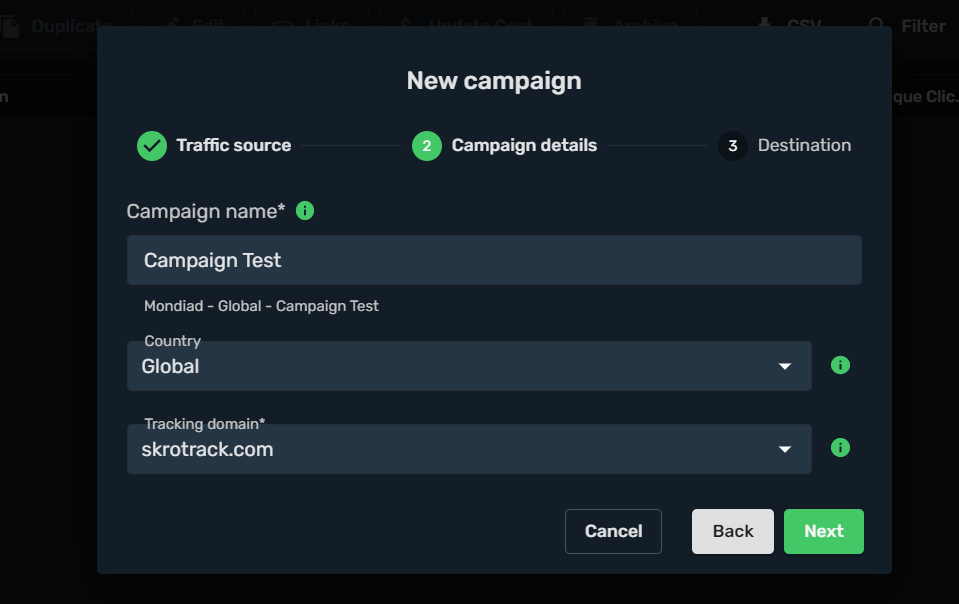
When done, hit the Next button to reach the next step.
Step 4. Final setup.
Now it is time to choose your campaign destination type and configure your destination URL.
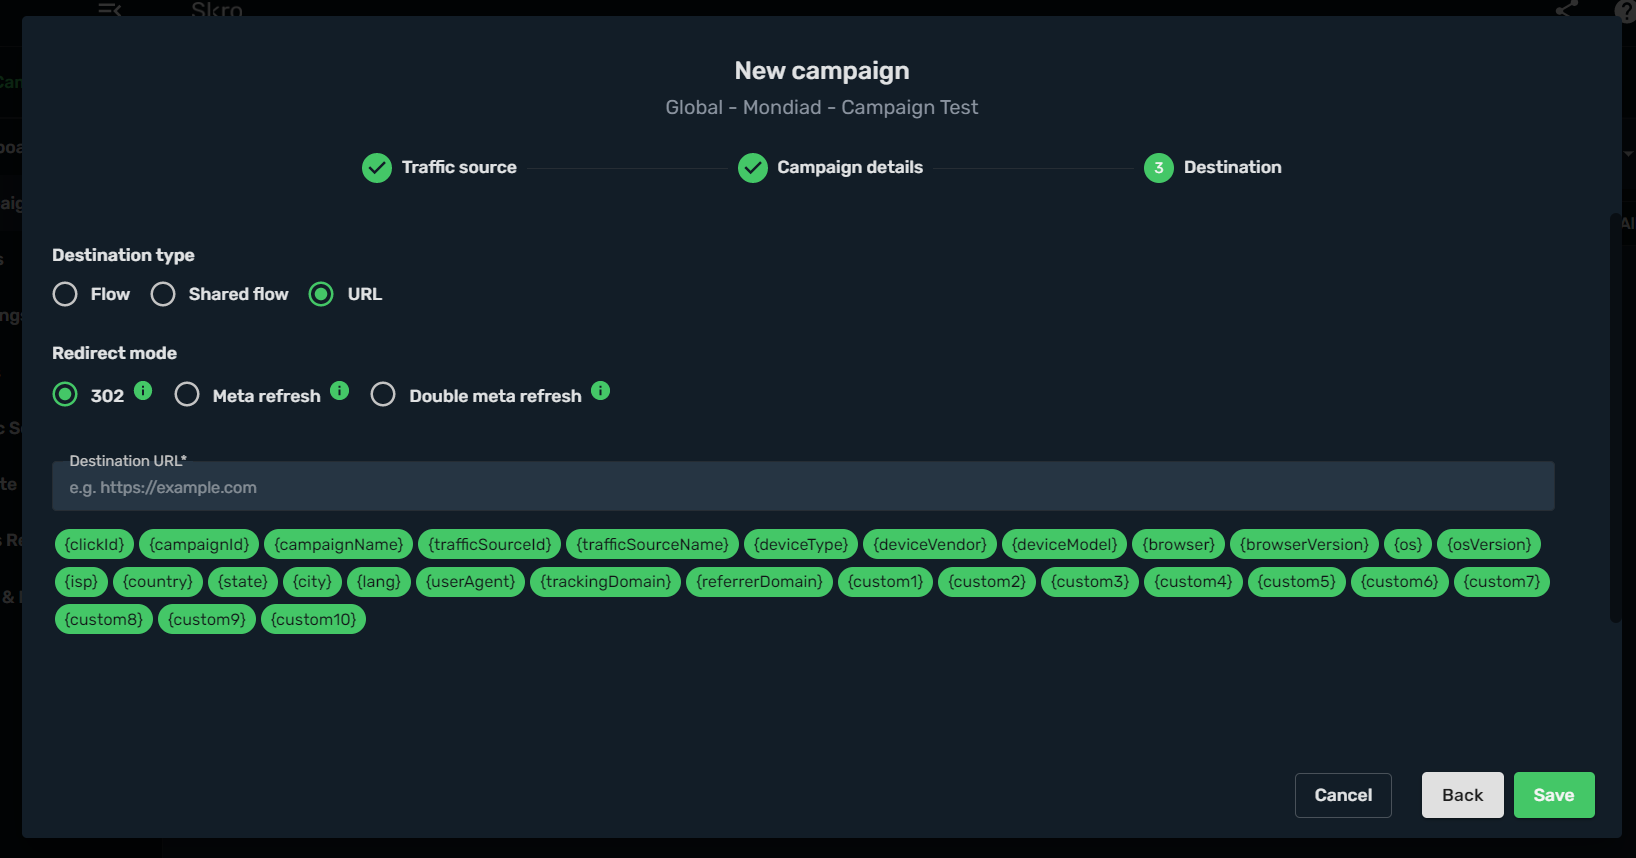
The final steps would be to copy the campaign URL generated in Skro and submit it to Mondiad, for approval.
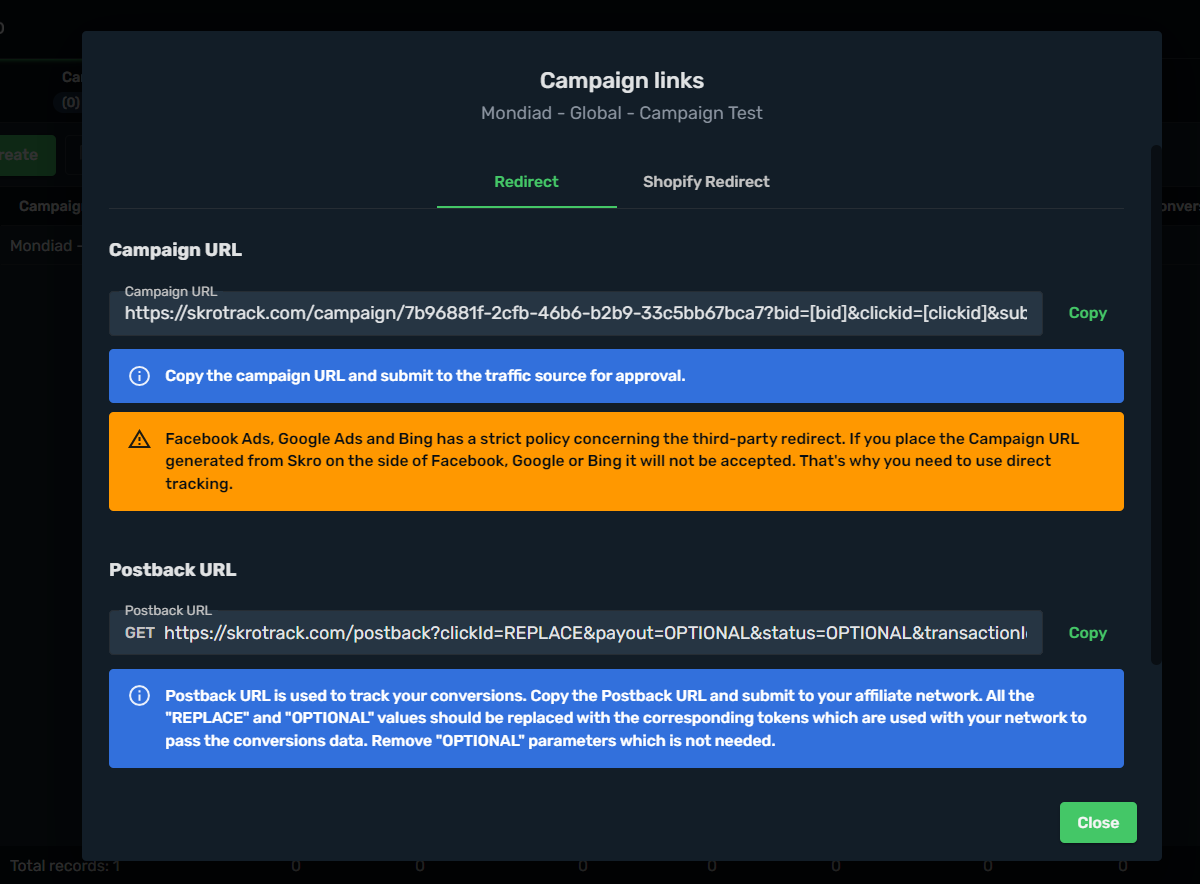
For any questions regarding the Skro configuration, don’t forget to check out the Skro documentation or contact their customer Support via support@skro.eu
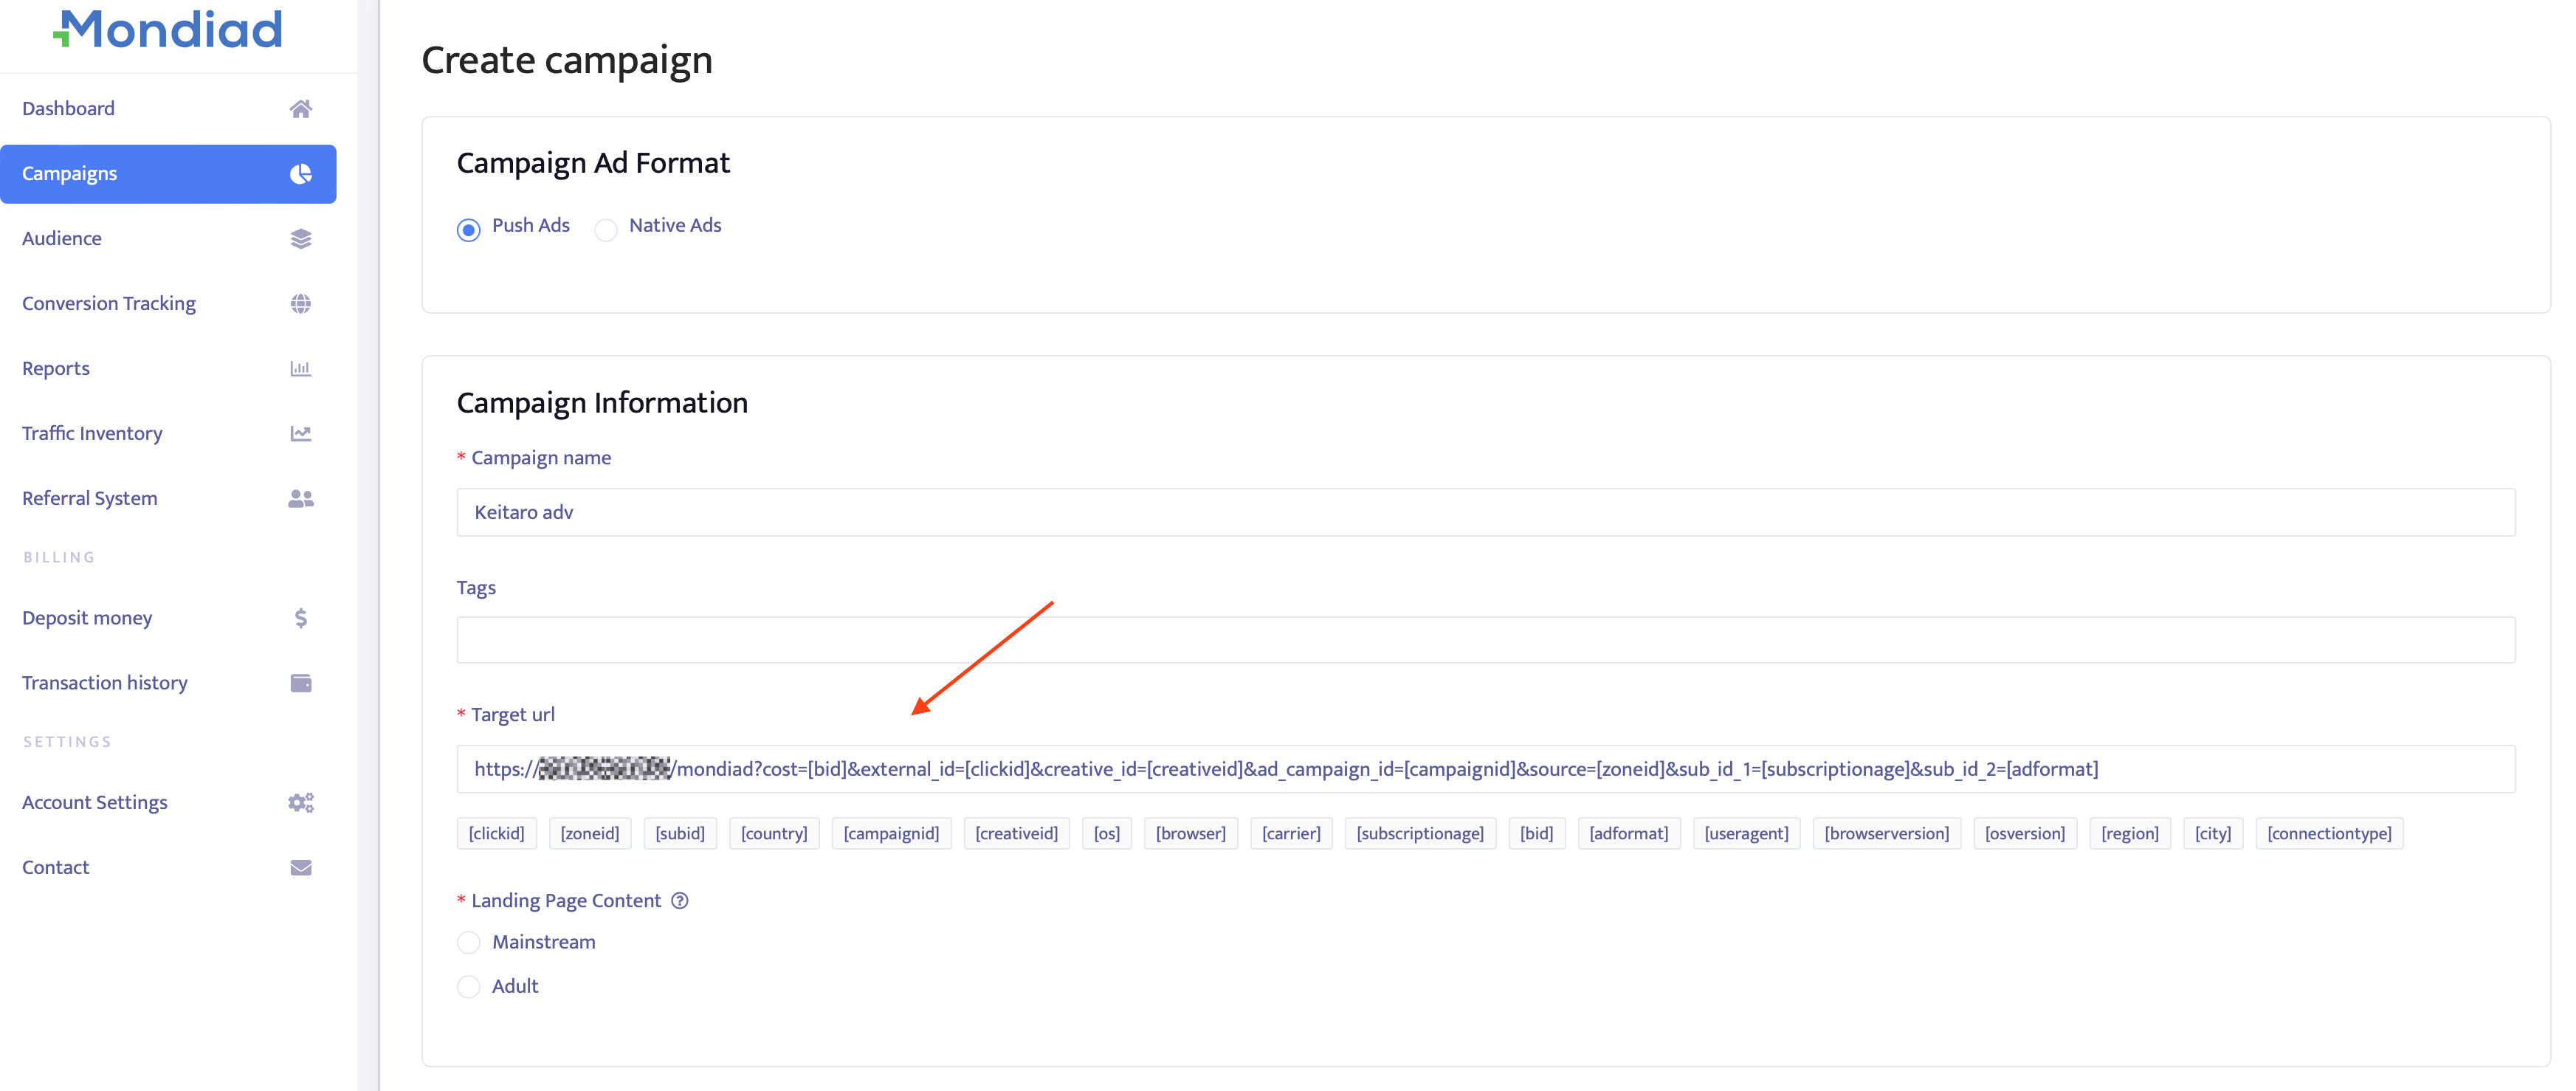
Step 5. Start a Campaign in Mondiad
If you want to send postbacks to Mondiad, this step is needed to get a ready-made S2S postback link.
Log in to your Mondiad advertiser account then go to the Campaigns tab to create a new campaign using the Campaign URL previously generated via Skro. Here, in the Target url field, insert the link you will take from the Skro tracker campaign.
This step-by-step guide will show you how to set up and optimise your Mondiad ad campaign to its full potential.
If you need more help with using the Mondiad platform, we suggest you check out our Help Center or contact our support team.