

1. SUBMIT YOUR WEBSITE:
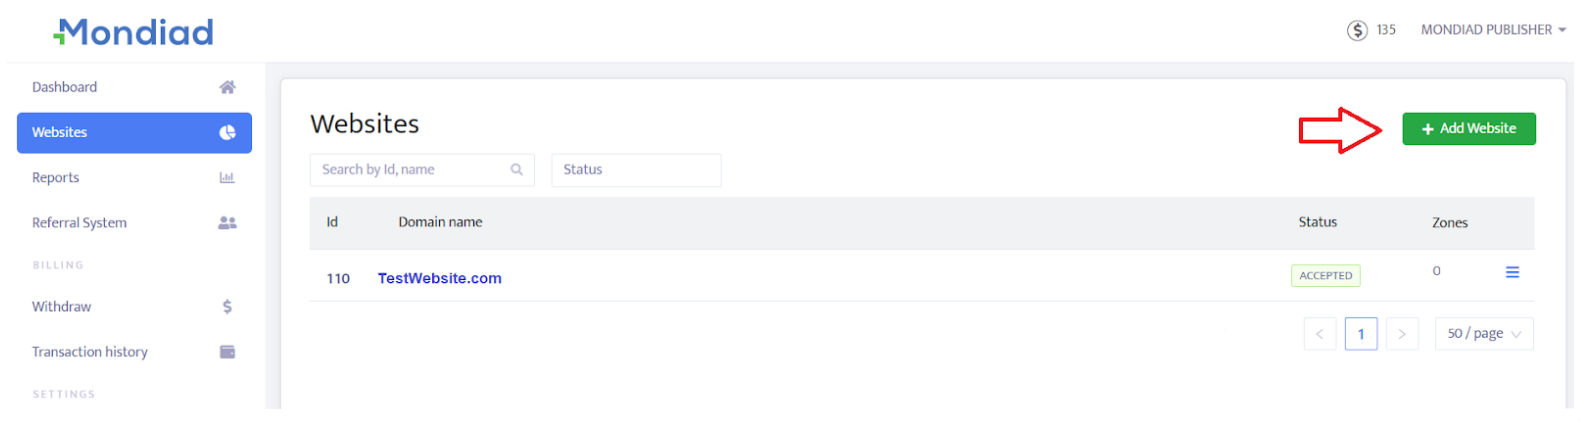
- Sign in to your publisher account then head over to the WEBSITE tab to add your website.
- Click on the +ADD WEBSITE button to fill in the required information about your domain.
*It usually takes no more than 5 minutes for your website to be accepted.
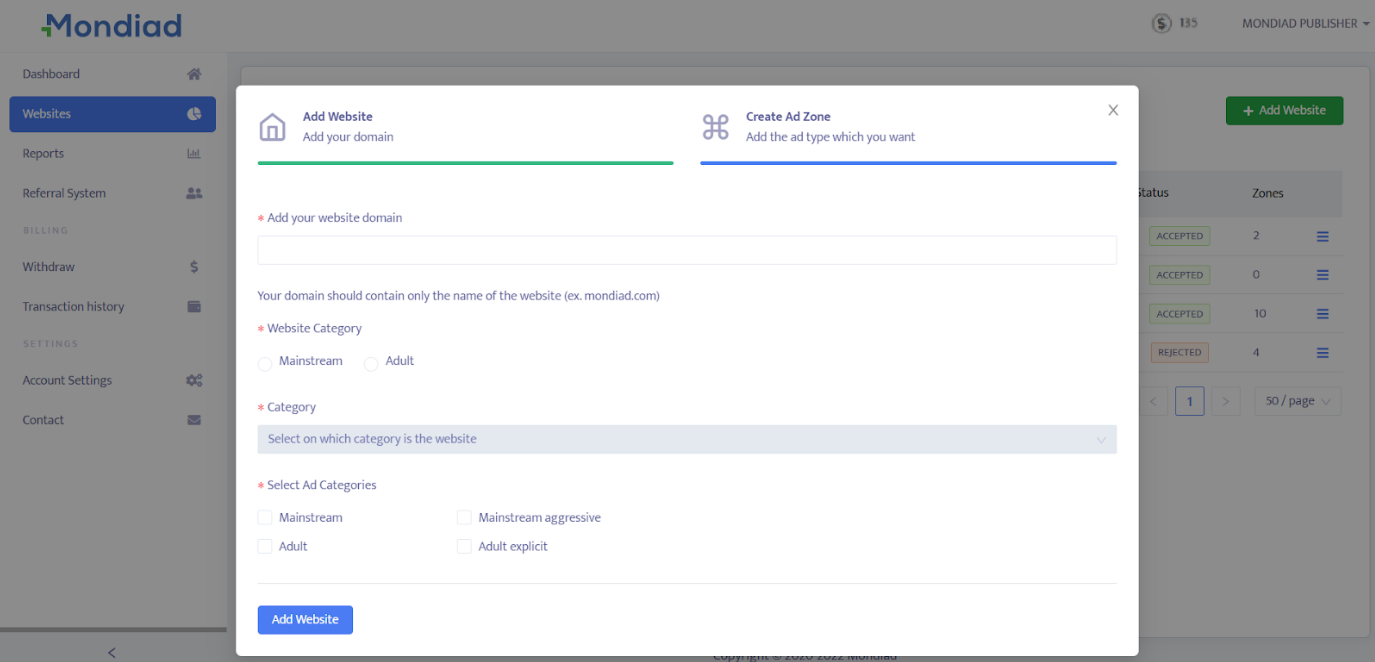
- Add your website domain. Your domain should contain only the name of the website (ex. mondiad.com);
- Select your website category: Mainstream / Adult;
- Next, select the sub-category of your website from the dropbox;
- Select one or more Ad Categories: Mainstream / Adult / Mainstream aggressive / Adult explicit.
2. VALIDATE YOUR WEBSITE:
Before you can add ad zones from Mondiad, it is essential to validate your website. Website validation is a crucial step that ensures the authenticity and ownership of a domain. By validating your website, you establish trust with advertisers and advertising platforms, like Mondiad.
After configuring your website characteristics, you will be required to validate your website through one of the four methods: Insert Code, Upload File, Domain DNS, and CNAME DNS verification. To do so, just follow the instructions for the method of your choice.
A) Insert code:
To validate your website, copy the red code shown in your window and paste it between the website <head> and </head> tags to validate the website ownership.
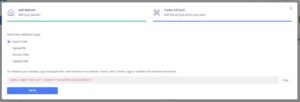
When done, click the “verify” button and wait for the confirmation.
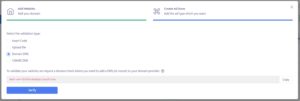
B) Upload file
To validate your website with this method, download the verification file shown in your window and upload it to the root folder of your website.

When done, click the “verify” button and wait for the confirmation.
C) Domain DNS / Adding a TXT Record to a DNS server
To validate your website via this method, we require a domain check where you need to add a text record* to your domain’s DNS settings.
* A TXT record is a file in text format containing information about your website, specifically intended for sources outside your domain.
To do this,
-> Sign in to your domain provider(where you purchased your domain name)
-> Locate the page for updating your domain’s DNS records
-> Locate the TXT records for your domain on this page
-> Copy and paste the Mondiad code shown in your window & save the changes
When done, click the “verify” button and wait for the confirmation.
D) CNAME lookup check
To validate your website via this method, we require a CNAME lookup check to confirm that you have correctly configured your DNS settings.
To do this,
-> Sign in to your domain provider(where you purchased your domain name)
-> Locate the page for updating your domain’s DNS records
-> Click to create a new record and set the parameters as shown in your window
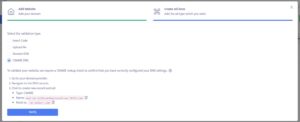
When done, click the “verify” button and wait for the confirmation.
⚠️ For C and D methods, the DNS record configuration will vary according to your domain host. That is why it is better to consult your domain provider’s official documentation for the most accurate and updated instructions. Find below the instructions for the top five domain hosts but if you are using another provider, do consult its documentation.
-> NEXT: How to create your ad zones and setup your ad display parameters